This topic provides a conceptual overview of the XamRadialGauge™ control’s scale. It describes the properties of the scale and also provides an example of how to implement it.
The following topics are prerequisites to understanding this topic:
This topic contains the following sections:
Used to represent the values of the gauge visually, a scale defines a range of values in the XamRadialGauge control. The tick marks and ranges are all the elements that can be added to a scale.
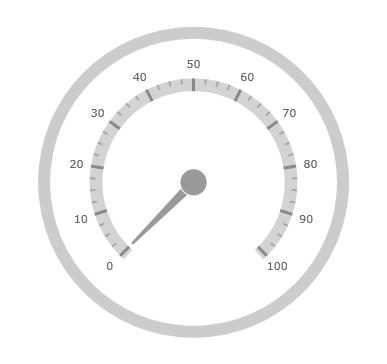
The following image is a preview of the XamRadialGauge control with the scale added.

The following table summarizes the properties of the XamRadialGauge control related to the scale.
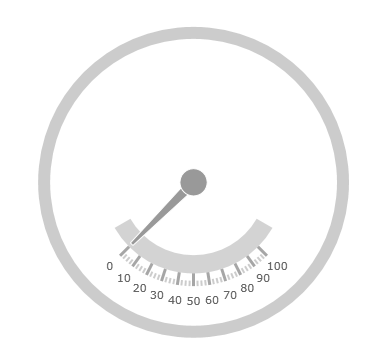
The screenshot below illustrates how the XamRadialGauge renders with its scale properties configured as follows:

Following is the code that implements this example.
In XAML:
<ig:XamRadialGauge x:Name="radialGauge"
         ScaleBrush="LightGray"
         ScaleStartExtent="0.5"
         ScaleEndExtent="0.4"
         ScaleOversweep="15"
         ScaleSweepDirection="Counterclockwise"/>
In C#:
var radialGauge = new XamRadialGauge();
radialGauge.ScaleBrush = new SolidColorBrush(Color.LightGray);
radialGauge.ScaleStartExtent = 0.5;
radialGauge.ScaleEndExtent = 0.4;
radialGauge.ScaleOversweep = 15;
radialGauge.ScaleSweepDirection = SweepDirection.Counterclockwise;
In Visual Basic:
Dim radialGauge As XamRadialGauge = New XamRadialGauge
radialGauge.ScaleBrush = New SolidColorBrush(Color.LightGray)
radialGauge.ScaleStartExtent = 0.5
radialGauge.ScaleEndExtent = 0.4
radialGauge.ScaleOversweep = 15
radialGauge.ScaleSweepDirection = SweepDirection.Counterclockwise
The following topics provide additional information related to this topic: