xmlns:grids="clr-namespace:Infragistics.XamarinForms.Controls.Grids;assembly=Infragistics.XF.DataGrid"
xmlns:local="clr-namespace:Infragistics.Data;assembly=YourAppName"This topic is designed to get you up and running as quickly as possible by describing the basic steps required for adding the XamDataGrid control to your view and populating it with sample data.
This topic contains the following sections
The following topics are prerequisites to understanding this topic:
Create a new class file in your project and name it SampleSalesPerson; this class will be used to generate sample data.
Replace content of your SampleSalesPerson class file with the source code from the SampleSalesPerson resource.
Import the following namespace to your view:
In XAML:
xmlns:grids="clr-namespace:Infragistics.XamarinForms.Controls.Grids;assembly=Infragistics.XF.DataGrid"
xmlns:local="clr-namespace:Infragistics.Data;assembly=YourAppName"In C#:
using Infragistics.XamarinForms.Controls.Grids;
using Infragistics.Data;Create an instance of the XamDataGrid control within the main view, and use its ItemsSource property to populate it with sample data as demonstrated in the following sample code.
In XAML:
<grids:XamDataGrid x:Name="DataGrid" >
    <grids:XamDataGrid.ItemsSource>
        <local:SampleSalesTeam />
    </grids:XamDataGrid.ItemsSource>
</grids:XamDataGrid>
In C#:
var DataGrid = new XamDataGrid();
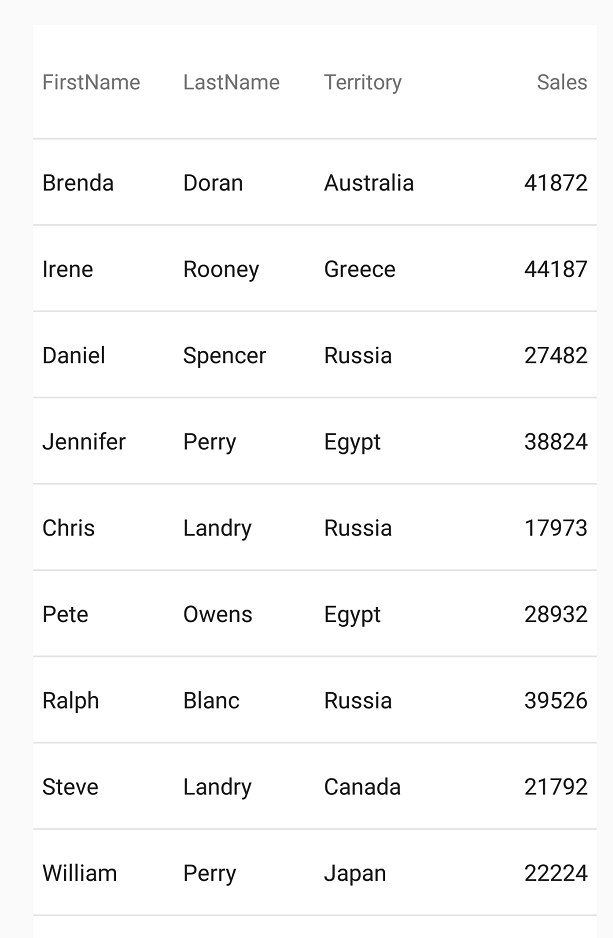
DataGrid.ItemsSource = SampleSalesPerson.GenerateSalesData(100);Save and run your application to verify the result, it should appear similar, (barring differences in screen orientation and resolution) to the screenshot below.

The following table lists topics that are related to this topic: