
Because ThemePacks are compiled assemblies, you will need to create a Visual Studio® project in order to build the ThemePack. You will also need to add a few folders to help organize the necessary files.
In Microsoft® Visual Studio 2008, on the main menu, click File, then New, then click Project… The New Project dialog box appears.
In the New Project dialog box, expand Visual C# or Visual Basic in the Project types tree and select NET Framework 3.0 or higher.
Select Custom Control Library (WPF) from the available templates.
Name the template "MyThemePack," and select OK. Visual Studio generates a project.
In the Solution Explorer, right click UserControl1.xaml and select Exclude from Project from the pop-up menu.
Add the following NuGet package reference to your project:
Infragistics.WPF.DataGrids
For more information on setting up the NuGet feed and adding NuGet packages, you can take a look at the following documentation: NuGet Feeds.
In the Solution Explorer, right click the project, click Add from the pop-up menu, then click New Folder. Name the folder "ResourceSets."
Right click the ResourceSets folder and click Add from the pop-up menu, then click New Folder. Name the folder "DataPresenter."
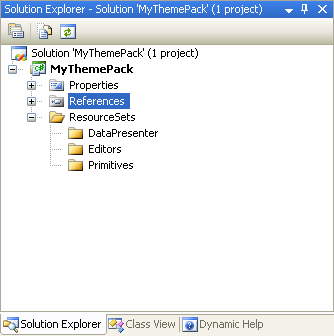
Repeat the previous step twice, adding two more folders to the ResourceSets folder. Name these two folders "Editors" and "Primitives."
Your solution should look similar to the image below.
The next step is to add and configure a class for each style group. Creating a Style Group’s Class will guide you through this procedure.