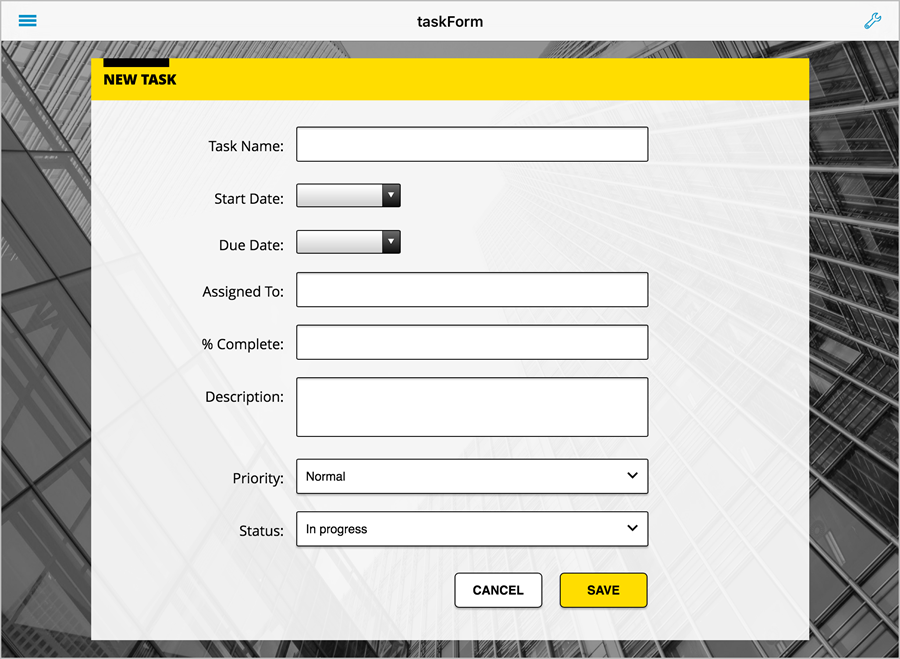
You can use custom forms to display, add, or edit items within a SharePoint list as an alternative to SharePlus' native visualization.

You can pre-configure this in the Configuration File using an existing View Part.
Because the Custom Forms feature works hierarchically, applying a form to a site means that the custom form will be applied to all the site’s subsites and lists for the content type you specify. Similarly, applying a custom form to a list means that the custom form will be applied to all items on that list depending on the content type you specify.
This also means, for example, that if you use 0x01 (item) as a content type, the custom form will be applied to items on the list or site, but also to all content types included below the 0x01 hierarchy (0x0101 – Documents, 0x0102 – Events, 0x0103 – Issue, etc.). For more information on content types, visit the Microsoft Base Content Type Hierarchy library. You can pre-configure a custom form to be used within SharePlus in the Configuration File using an existing Page.
Configuring the Custom Form. During this step, you will specify where the custom form will be applied.
Create a Page that includes a Custom Form package.
Define a new page in the Configuration File or use an existing one. You need a View Part containing your custom form package.
Open the Configuration File and navigate to the Pages section to create a new Page.
Define a Page.
<key>Pages</key>
<array>
    <dict>
        <key>PageName</key>
        <string>MyCustomForm</string>
        <key>ShowSelector</key>
        <false/>
        <key>ViewParts</key>
        <array>
        ...
        </array>
    </dict>
</array>
The three elements to configure are:
PageName – The name used to reference the page when configuring a Custom Form.
ShowSelector - Does nothing, the first View Part is always used.
ViewParts – Array of View Part elements defined for the page. Only the fist View Part will be used.
Specify a View Part containing a custom form.
Each page has an array of view Part elements that you must specify.
<key>ViewParts</key>
<array>
     <dict>
         <key>Settings</key>
 	    <dict>
		 <key>Source</key>
                   <string>http://mySharePoint.com/.../sitename/libraryname/CustomForm.zip</string>
		 <key>SourceType</key>
   	         <integer>0</integer>
            </dict>
         <key>Title</key>
         <string>Construction Project</string>
         <key>ViewControllerID</key>
         <integer>0</integer>
     </dict>
</array>
The four elements to configure are:
ViewControllerID – Specifies the ID defined in the app.plist for the View Controller to be used. For Custom Forms, Mobile Workspaces and PDF files, the value must be 0.
Title – Specifies the title to be displayed on the top toolbar for this View Part.
Source – Specifies the source location of the package file. The source can be a URL or a local path inside the application.
SourceType – Sets the source type of the Custom Form package. Possible values are:
0 – to reference a URL to download the file.
1 – to reference a path inside the application, in the application’s resource bundle, or Local Files if the path starts with “Documents/”.
Configure the Custom Form
Open the Configuration File.
Search for the CustomForms feature in the Features section.
Reference the Page.
You need to reference the page you created by name in the PageName key value.
The Configuration File should be similar to the one below:
<key>CustomForms</key>
<dict>
    <key>Enabled</key>
    <true/>
    <key>Settings</key>
    <dict>
        <key>CustomFormsDefinitions</key>
        <array>
            <dict>
                <key>BaseContentType</key>
                <string>0x01</string>
                <key>BaseUrl</key>
                <string>http://yourSharePoint.com/.../sitename/libraryname</string>
                <key>PageName</key>
                <string>customPageName</string>
                <key>CustomFormActions</key>
                <array>
                    <dict>
                        <key>CustomFormAction</key>
                        <string>New</string>
                    </dict>
                    <dict>
                        <key>CustomFormAction</key>
                        <string>Edit</string>
                    </dict>
                    <dict>
                        <key>CustomFormAction</key>
                        <string>Display</string>
                    </dict>
                </array>
                <key>ShowSaveButton</key>
                <false/>
            </dict>
            ...
        </array>
    </dict>
</dict>
The four elements to configure are:
BaseContentType: the SharePoint ContentType for the list items being modified, added or displayed. For more information on content types, visit the Microsoft Base Content Type Hierarchy library.
BaseURL: the site collection or specific list to which you will apply the Custom Form.
Applying a custom form to a site collection means applying the form to all lists and their items under that site collection for the Content Type you specify.
Applying a custom form for a specific list means applying the form to only that list and its items for the Content Type you specify.
PageName: the name used to reference the page when configuring a Custom Form for the application or sites.
CustomFormActions: Specify at least one of the actions (New, Edit, Display) in which the Custom Form will be shown for that list and content type. I.e., when adding, editing, or displaying an item for that list.
(Optional) ShowSaveButton: by default, the native SharePlus “Save” button will always appear for Custom Forms in the top right corner. However, if the ShowSaveButton is included in the config.plist file and is set to <false/>, the native “Save” button will disappear. The ShowSaveButton functionality is available only for CustomFormsActions “New” and “Edit”.